Depending on the length and quality of the optic fibre cables, you can opt for a simple attachment method to connect the fibres. The mode of attachment between two optic fibre cables varies according to the type of connectors used. If you ask any expert on optic fibre connector installation, they all suggest a series of procedures that every installation model will have.

Installation Method: A general guider
Step 1:
Always start by cutting an optic cable couple of inches longer than desired length. It will save you the hassle of double attachment in the end, in case your original length falls short.
Always start by cutting an optic cable couple of inches longer than desired length. It will save you the hassle of double attachment in the end, in case your original length falls short.
Step 2:
Soak the optic fibre cables in paint thinner solution.
Soak the optic fibre cables in paint thinner solution.
Step 3:
Remove the optic glass fibre cables from the liquid medium and dry it off completely. Always use linen cloth for drying purposes.
Remove the optic glass fibre cables from the liquid medium and dry it off completely. Always use linen cloth for drying purposes.
Step 4:
Once dry, remove the outer jacket of the fibre using magnifying glass. Ensure that the fibre glass is not nicked. Use a rubberised stripper for a better grip while removing the outer jacket.
Once dry, remove the outer jacket of the fibre using magnifying glass. Ensure that the fibre glass is not nicked. Use a rubberised stripper for a better grip while removing the outer jacket.
Step 5:
While cutting the fibre coating, ensure that you have also removed the strength members. If not, it would create blocks once the connector is ready for installation.
While cutting the fibre coating, ensure that you have also removed the strength members. If not, it would create blocks once the connector is ready for installation.
Step 6:
Clean the bared optic fibre cable with a linen cloth dipped in spirit solution. For best results, propan-ol or its isomeric alcohol version is used. Ensure that the alcohol does not come in direct contact with the glass of the fibre optic cables.
Clean the bared optic fibre cable with a linen cloth dipped in spirit solution. For best results, propan-ol or its isomeric alcohol version is used. Ensure that the alcohol does not come in direct contact with the glass of the fibre optic cables.
Step 7:
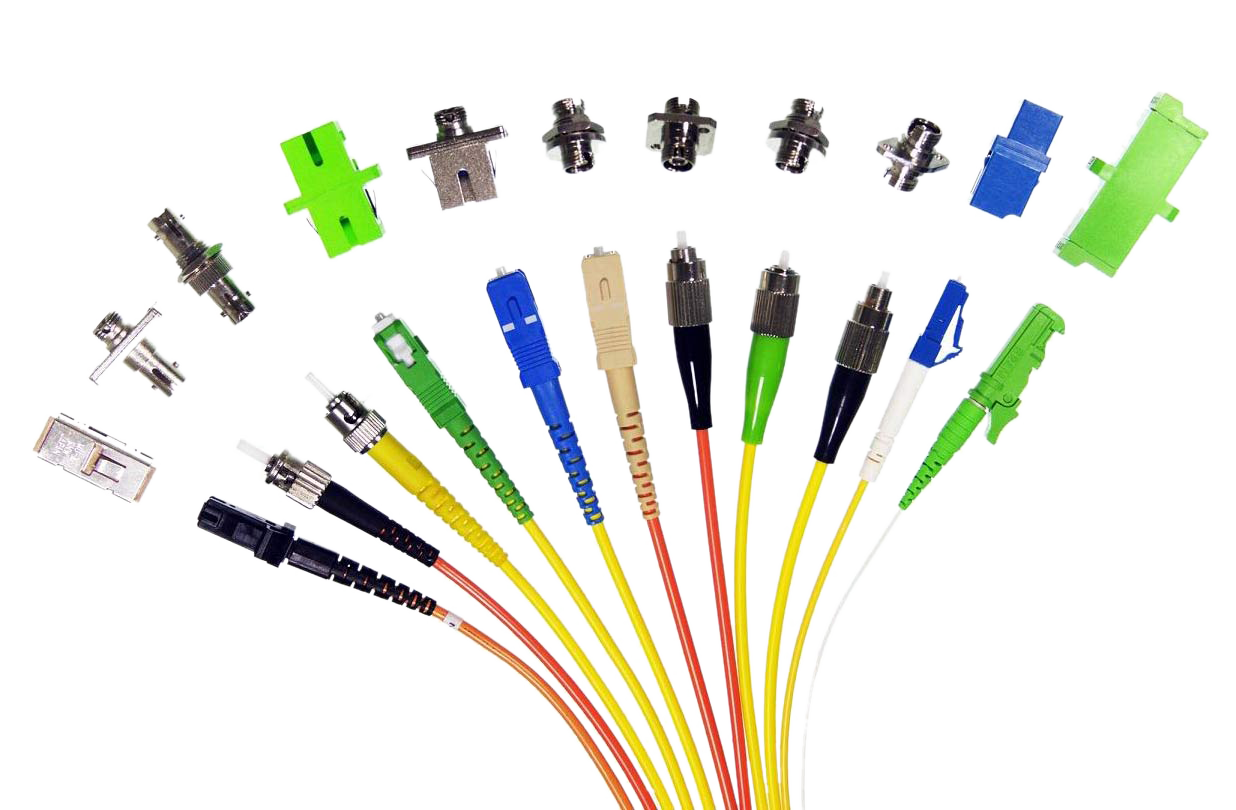
You can now start the connection of the fibre optic cables using the fibre optic connectors. It is done by applying epoxy medium or by making a crimp.
You can now start the connection of the fibre optic cables using the fibre optic connectors. It is done by applying epoxy medium or by making a crimp.
Step 8:
Form a beaded structure at the tip of the connector before inserting the fibre optic cables into the connector.
Form a beaded structure at the tip of the connector before inserting the fibre optic cables into the connector.
Step 9:
After inserting the cable into the fibre optic connector, anchor the strength members for a permanent fixing. Don’t put too much pressure on the cable as it is very delicate at the connector site initially.
After inserting the cable into the fibre optic connector, anchor the strength members for a permanent fixing. Don’t put too much pressure on the cable as it is very delicate at the connector site initially.
Step 10:
Hold the connector with care. The anchors of the strength members ensure that the fibre optics remains shielded from the physical stress.
Hold the connector with care. The anchors of the strength members ensure that the fibre optics remains shielded from the physical stress.
Step 11:
Slowly slide the connector bracket into over the cable till it no longer moves beyond the site. Lock the connector to its brace.
Slowly slide the connector bracket into over the cable till it no longer moves beyond the site. Lock the connector to its brace.
Step 12:
Once fixed with the connector, clean and polish the fibre optic cables.
Once fixed with the connector, clean and polish the fibre optic cables.
Precautions to be taken in the domestic installation :
- Always prepare the ends of the fibre optic cables to be connected with connectors. It requires elaborate smoothening to correct spots, lips and fractures.
- While chipping away the older outer jacket, ensure that you are using light force. Fibre optic cables are susceptible to extensive damage during the removal process.
- Use only industrial quality of epoxy and propan-ol for cleaning and removal purposes. The local varieties are dilute versions and may not be effective in the connection process.
- Take extra care during cleaving if you wish to have a mirror-like finish.


Nice info about Optic Cable..Thanks for sharing....
ReplyDeleteOTDR
Splicing machine
BUY OTDR
NOYES OTDR